In last Thursday’s class I learned more about the components and sensors we will be exploring in Interface Lab. In order to fully utilize the power of an Arduino Nano IoT, we must master documentation, circuit building process, and sensor integrations when iterating our design. The introduction of the variety of switches and sensors really opened up my imagination of the possibilities for prototyping devices I want to make. I forgot to inquire in class about learning additional sensors like a load scale amplifier (HX711) in our summer class, It would be great to explore how accurate measurements (as opposed to pressure sensors) can trigger new expressions.

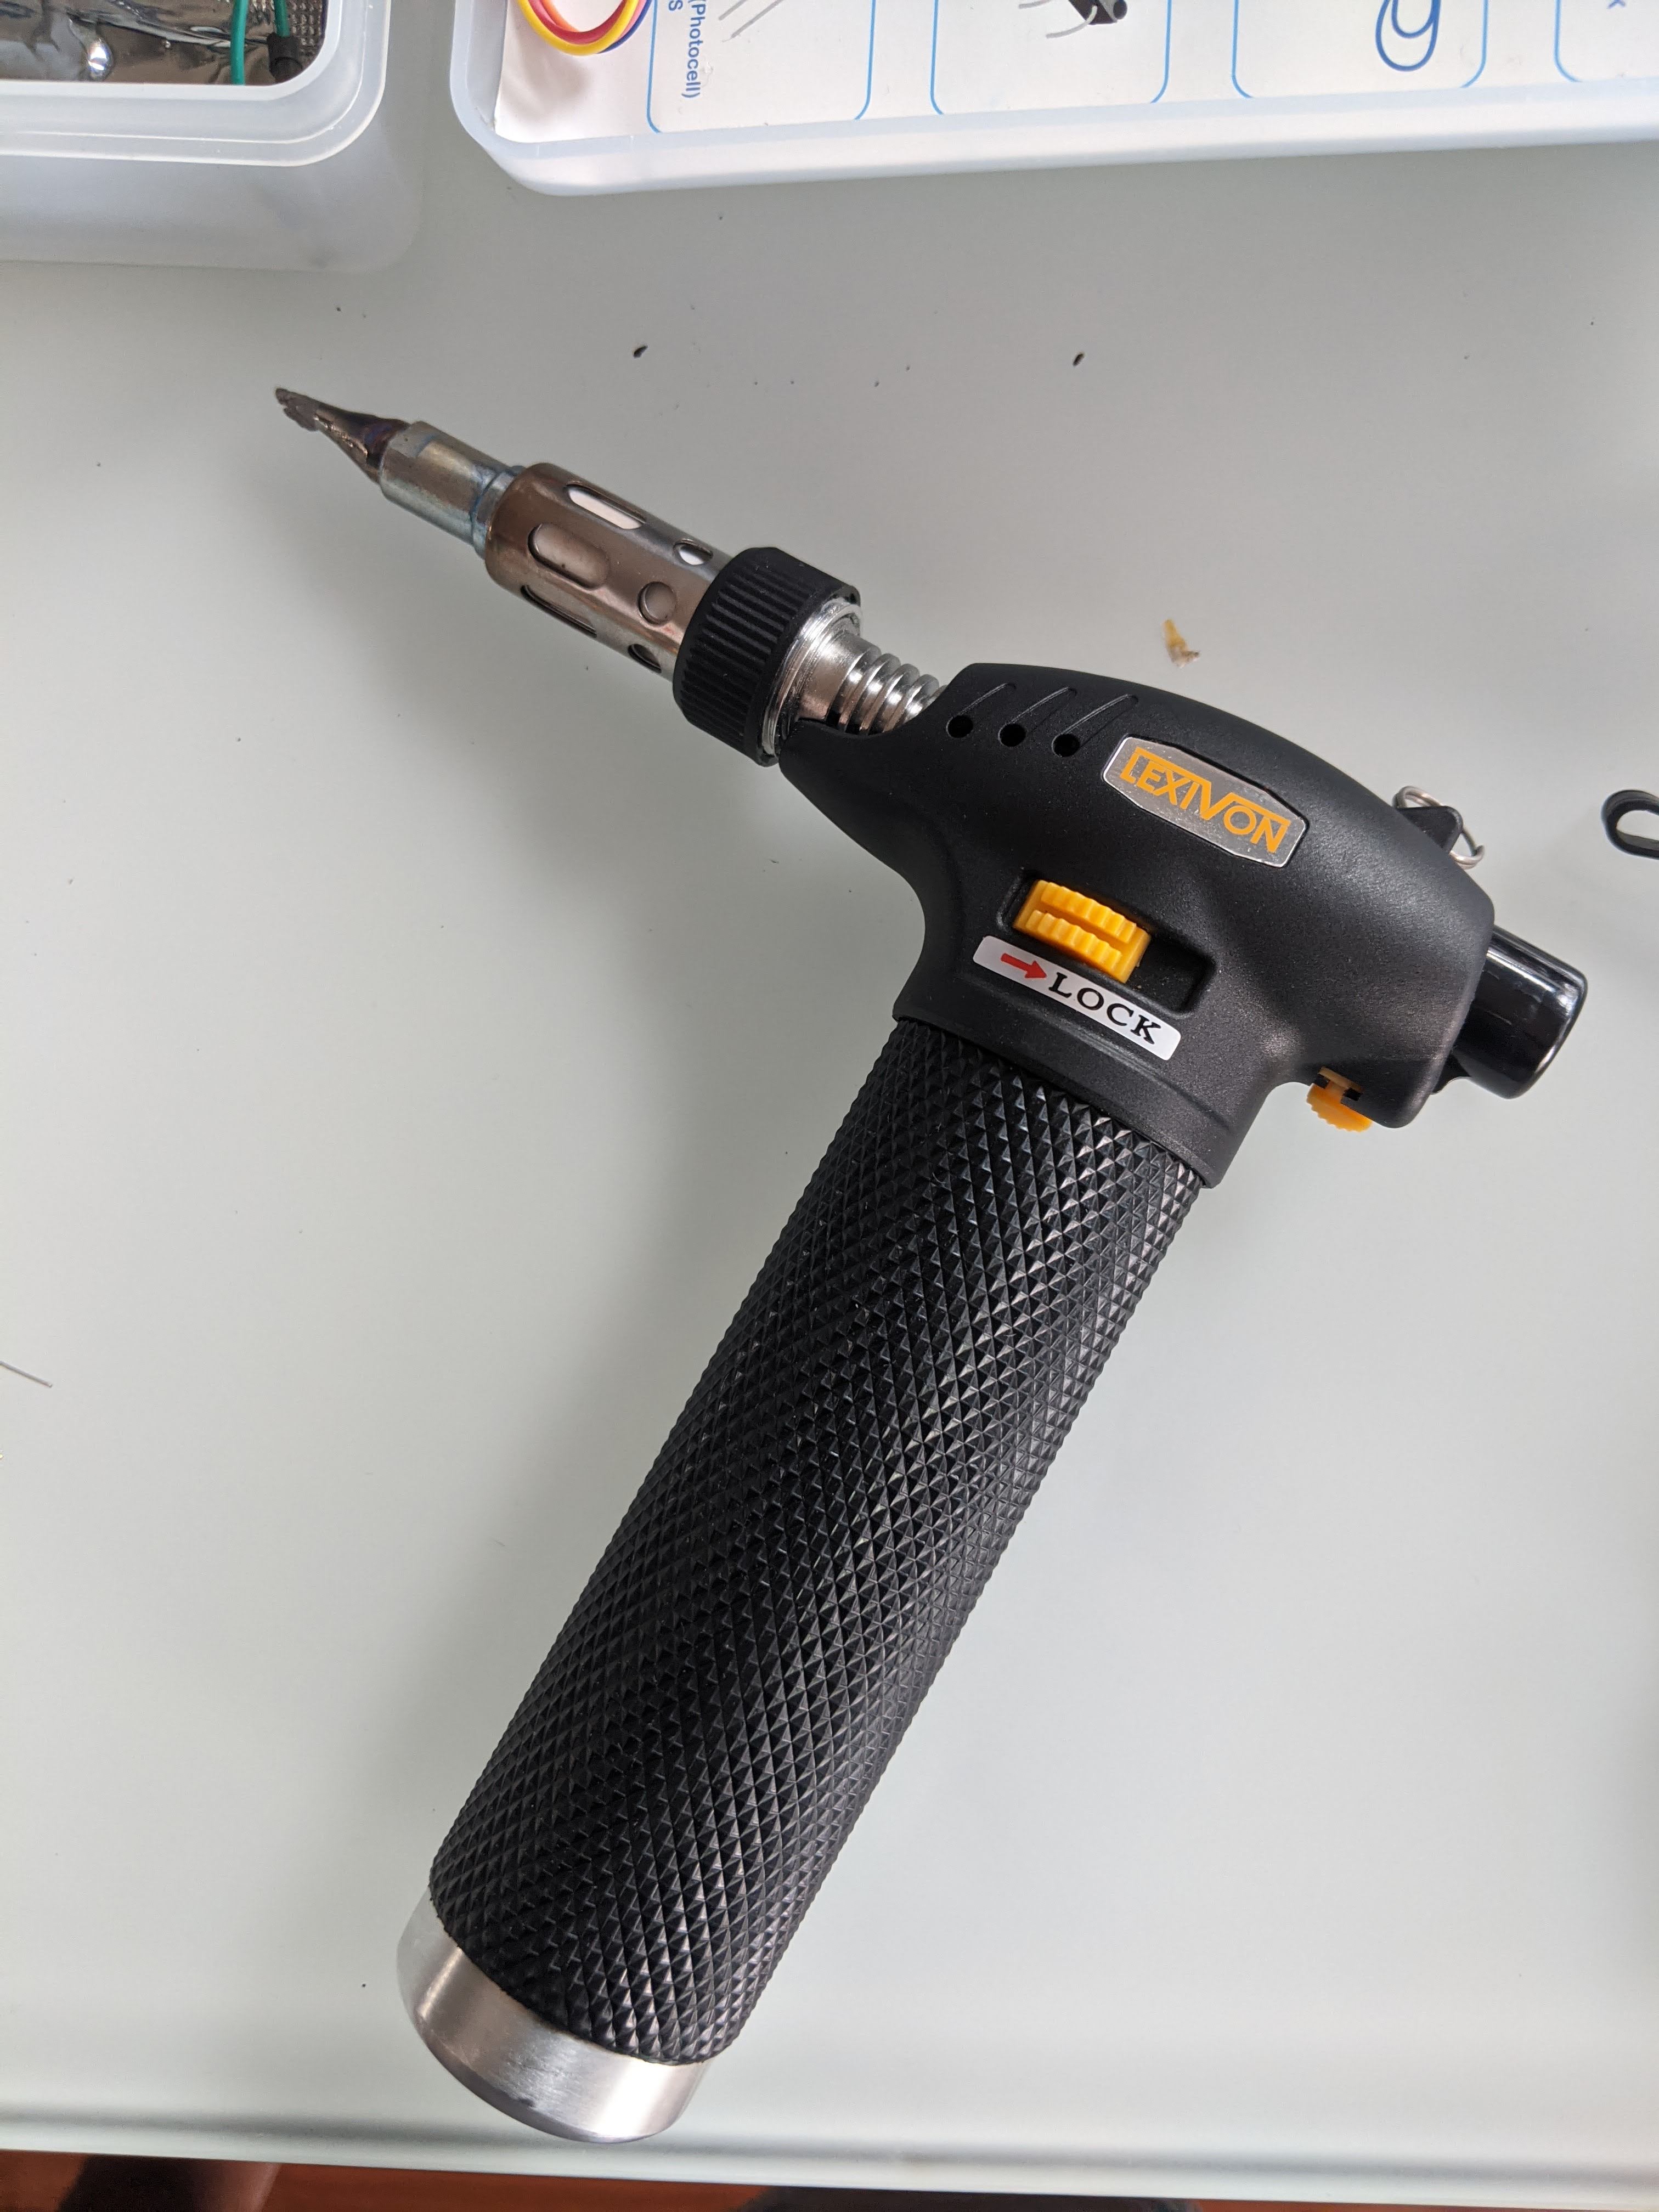
I began building my simple circuit using the lab guide. Prior to the start of class my Nano was delayed in the mail. I reordered one and it came unsoldered, so I decided to solder it myself. I used a torch solder since that was all I had. I learned that while these are great tools to have, one needs to be careful with where the heat nozzle points. I may have accidentally exposed the circuit board to a blast of extreme heat when heating the solder iron bit. I hope I didn’t damage my Nano (it still works but how canI tell if it ALL works?).
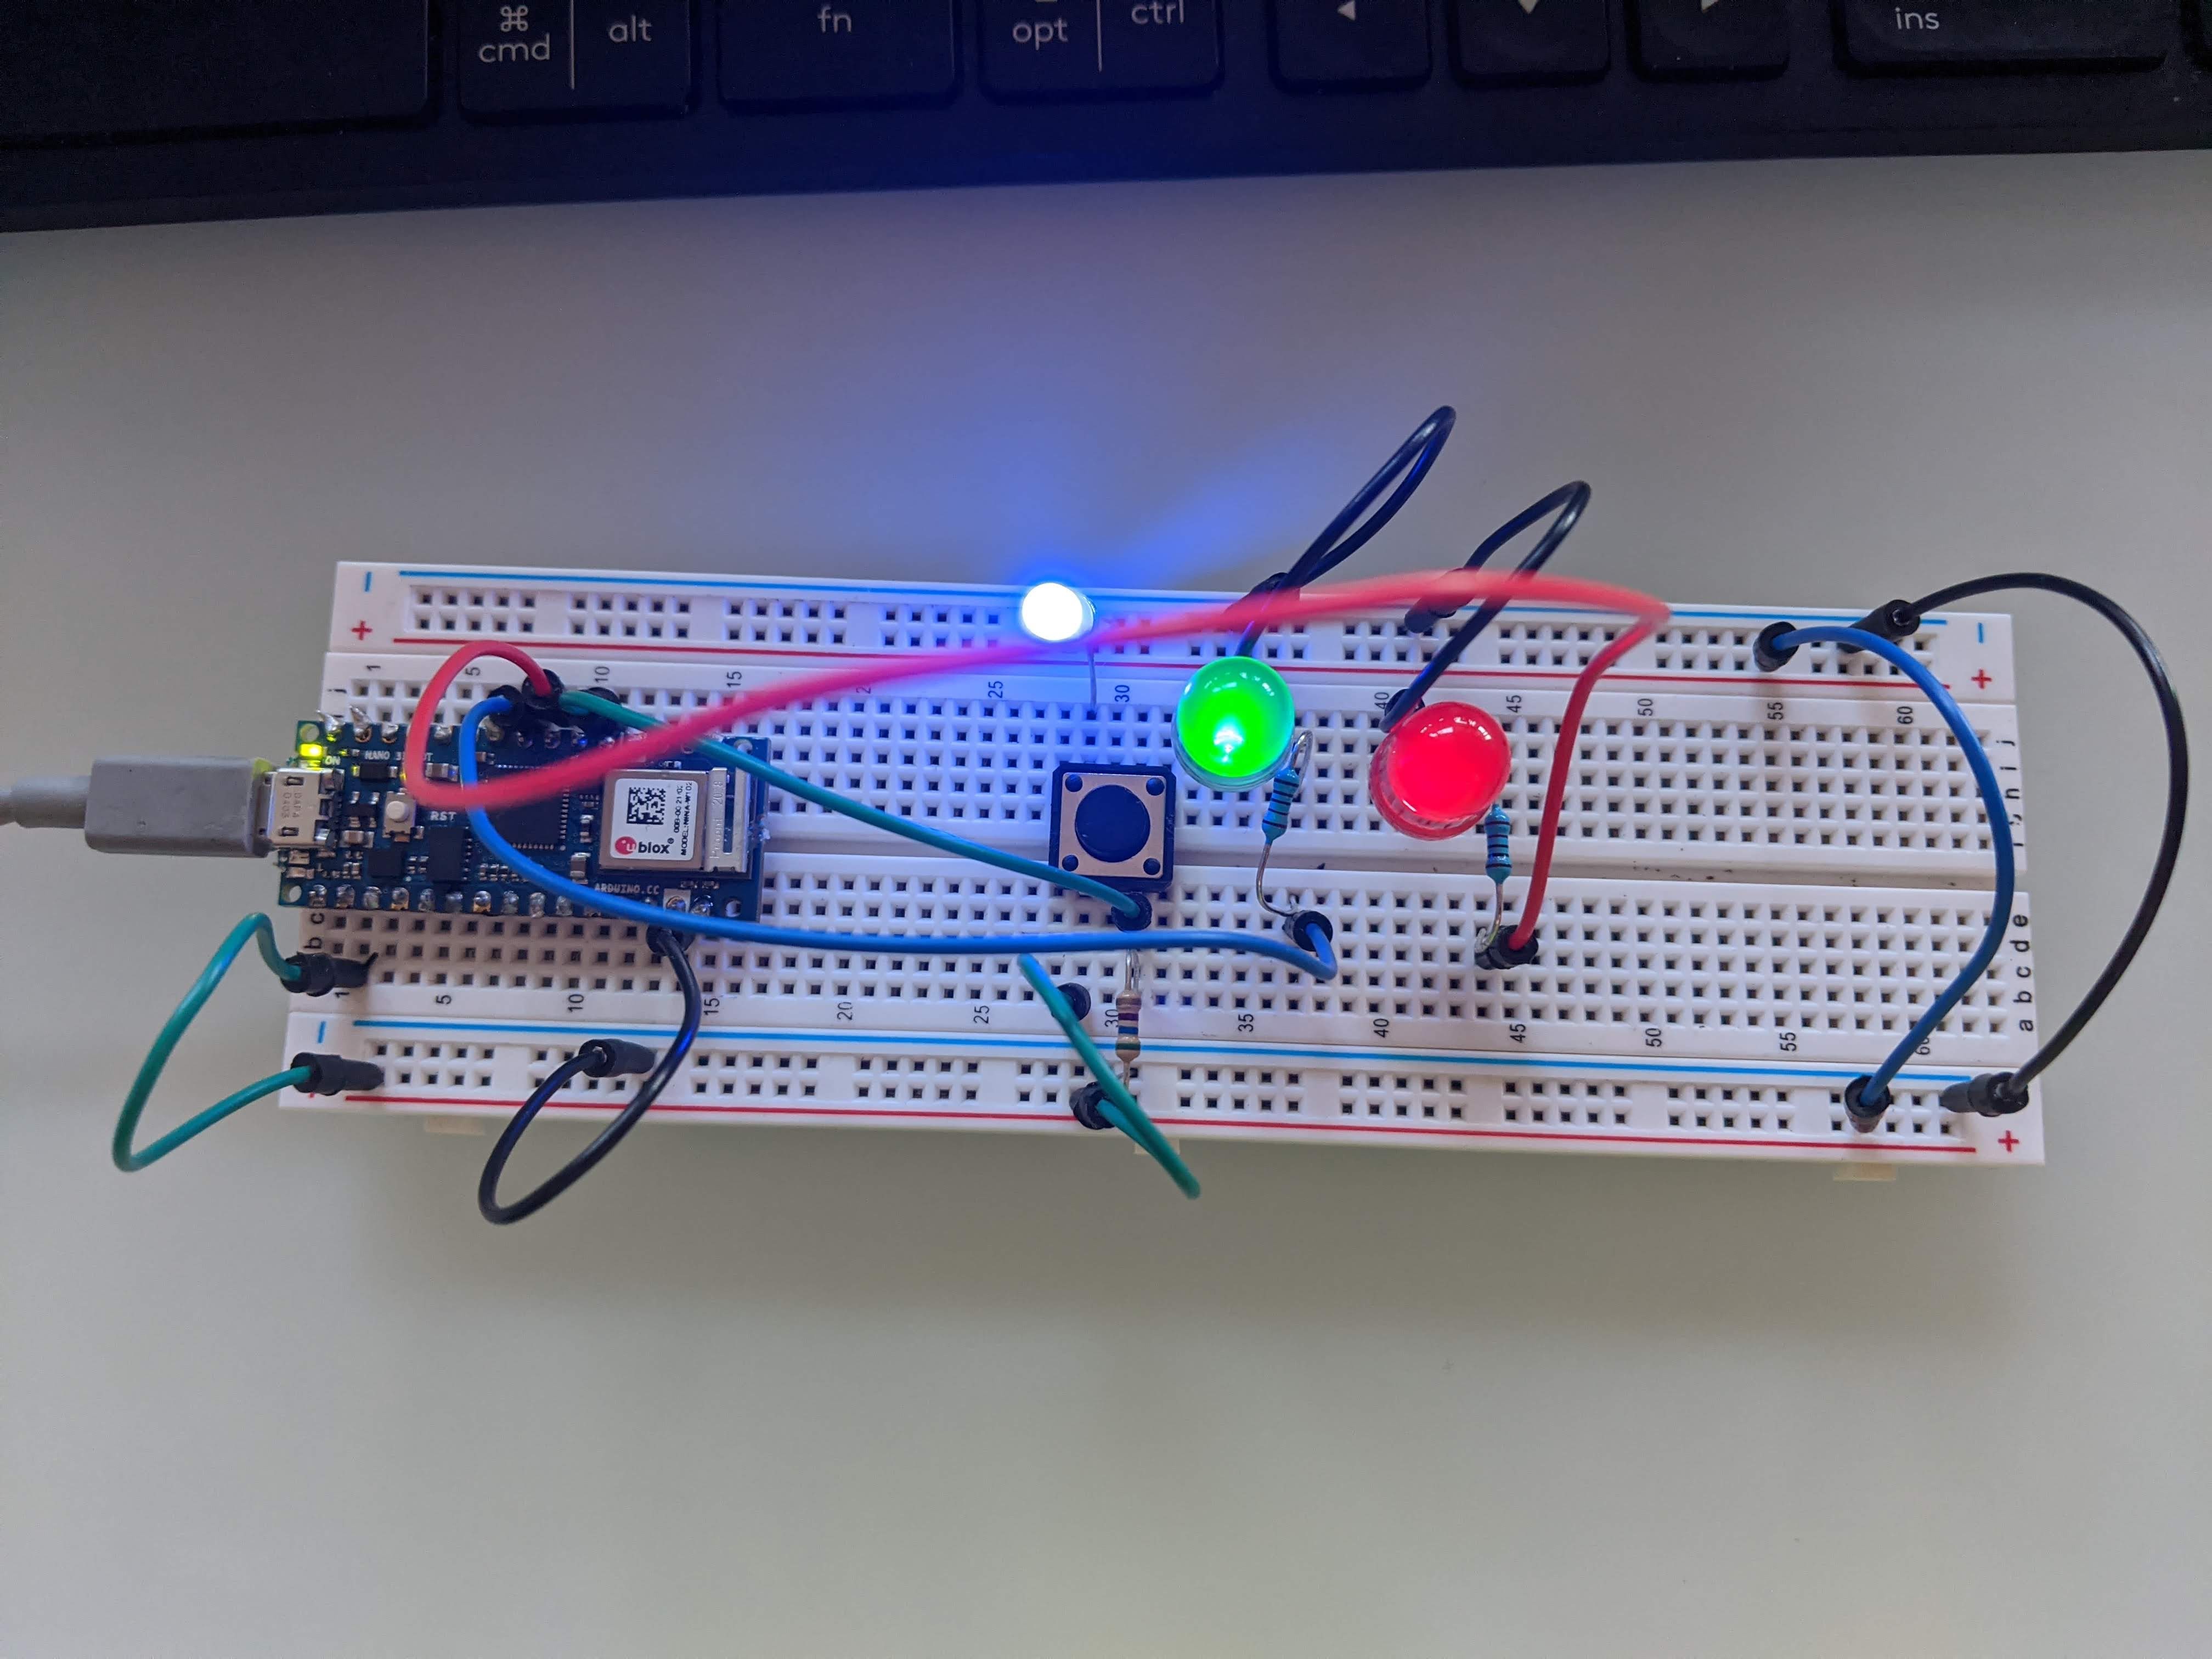
Putting together the circuit was relatively easy. I did find a weird glitch where the code worked, then didn’t work, then worked again. Is there a way to clear all written code and fully reset the board when things go left?

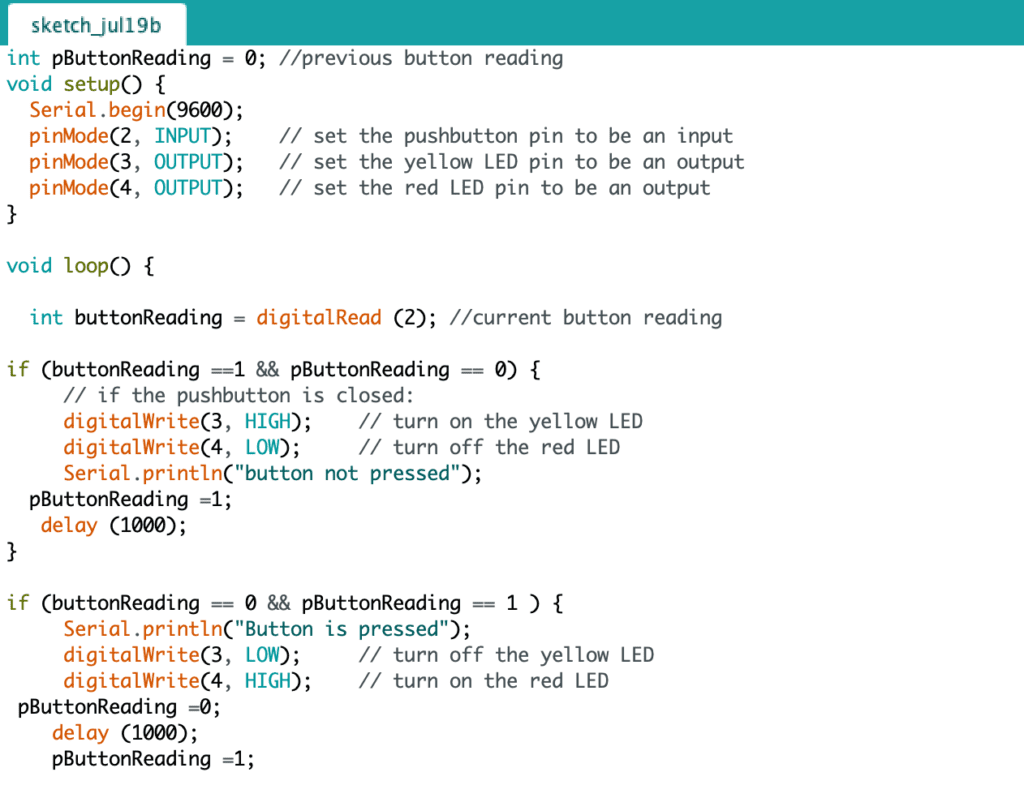
Using the code we developed in class I was able to figure out how to make my buttons respond in an on/off manner. There is so much more to learn and I’m really excited to explore physical computing more.

