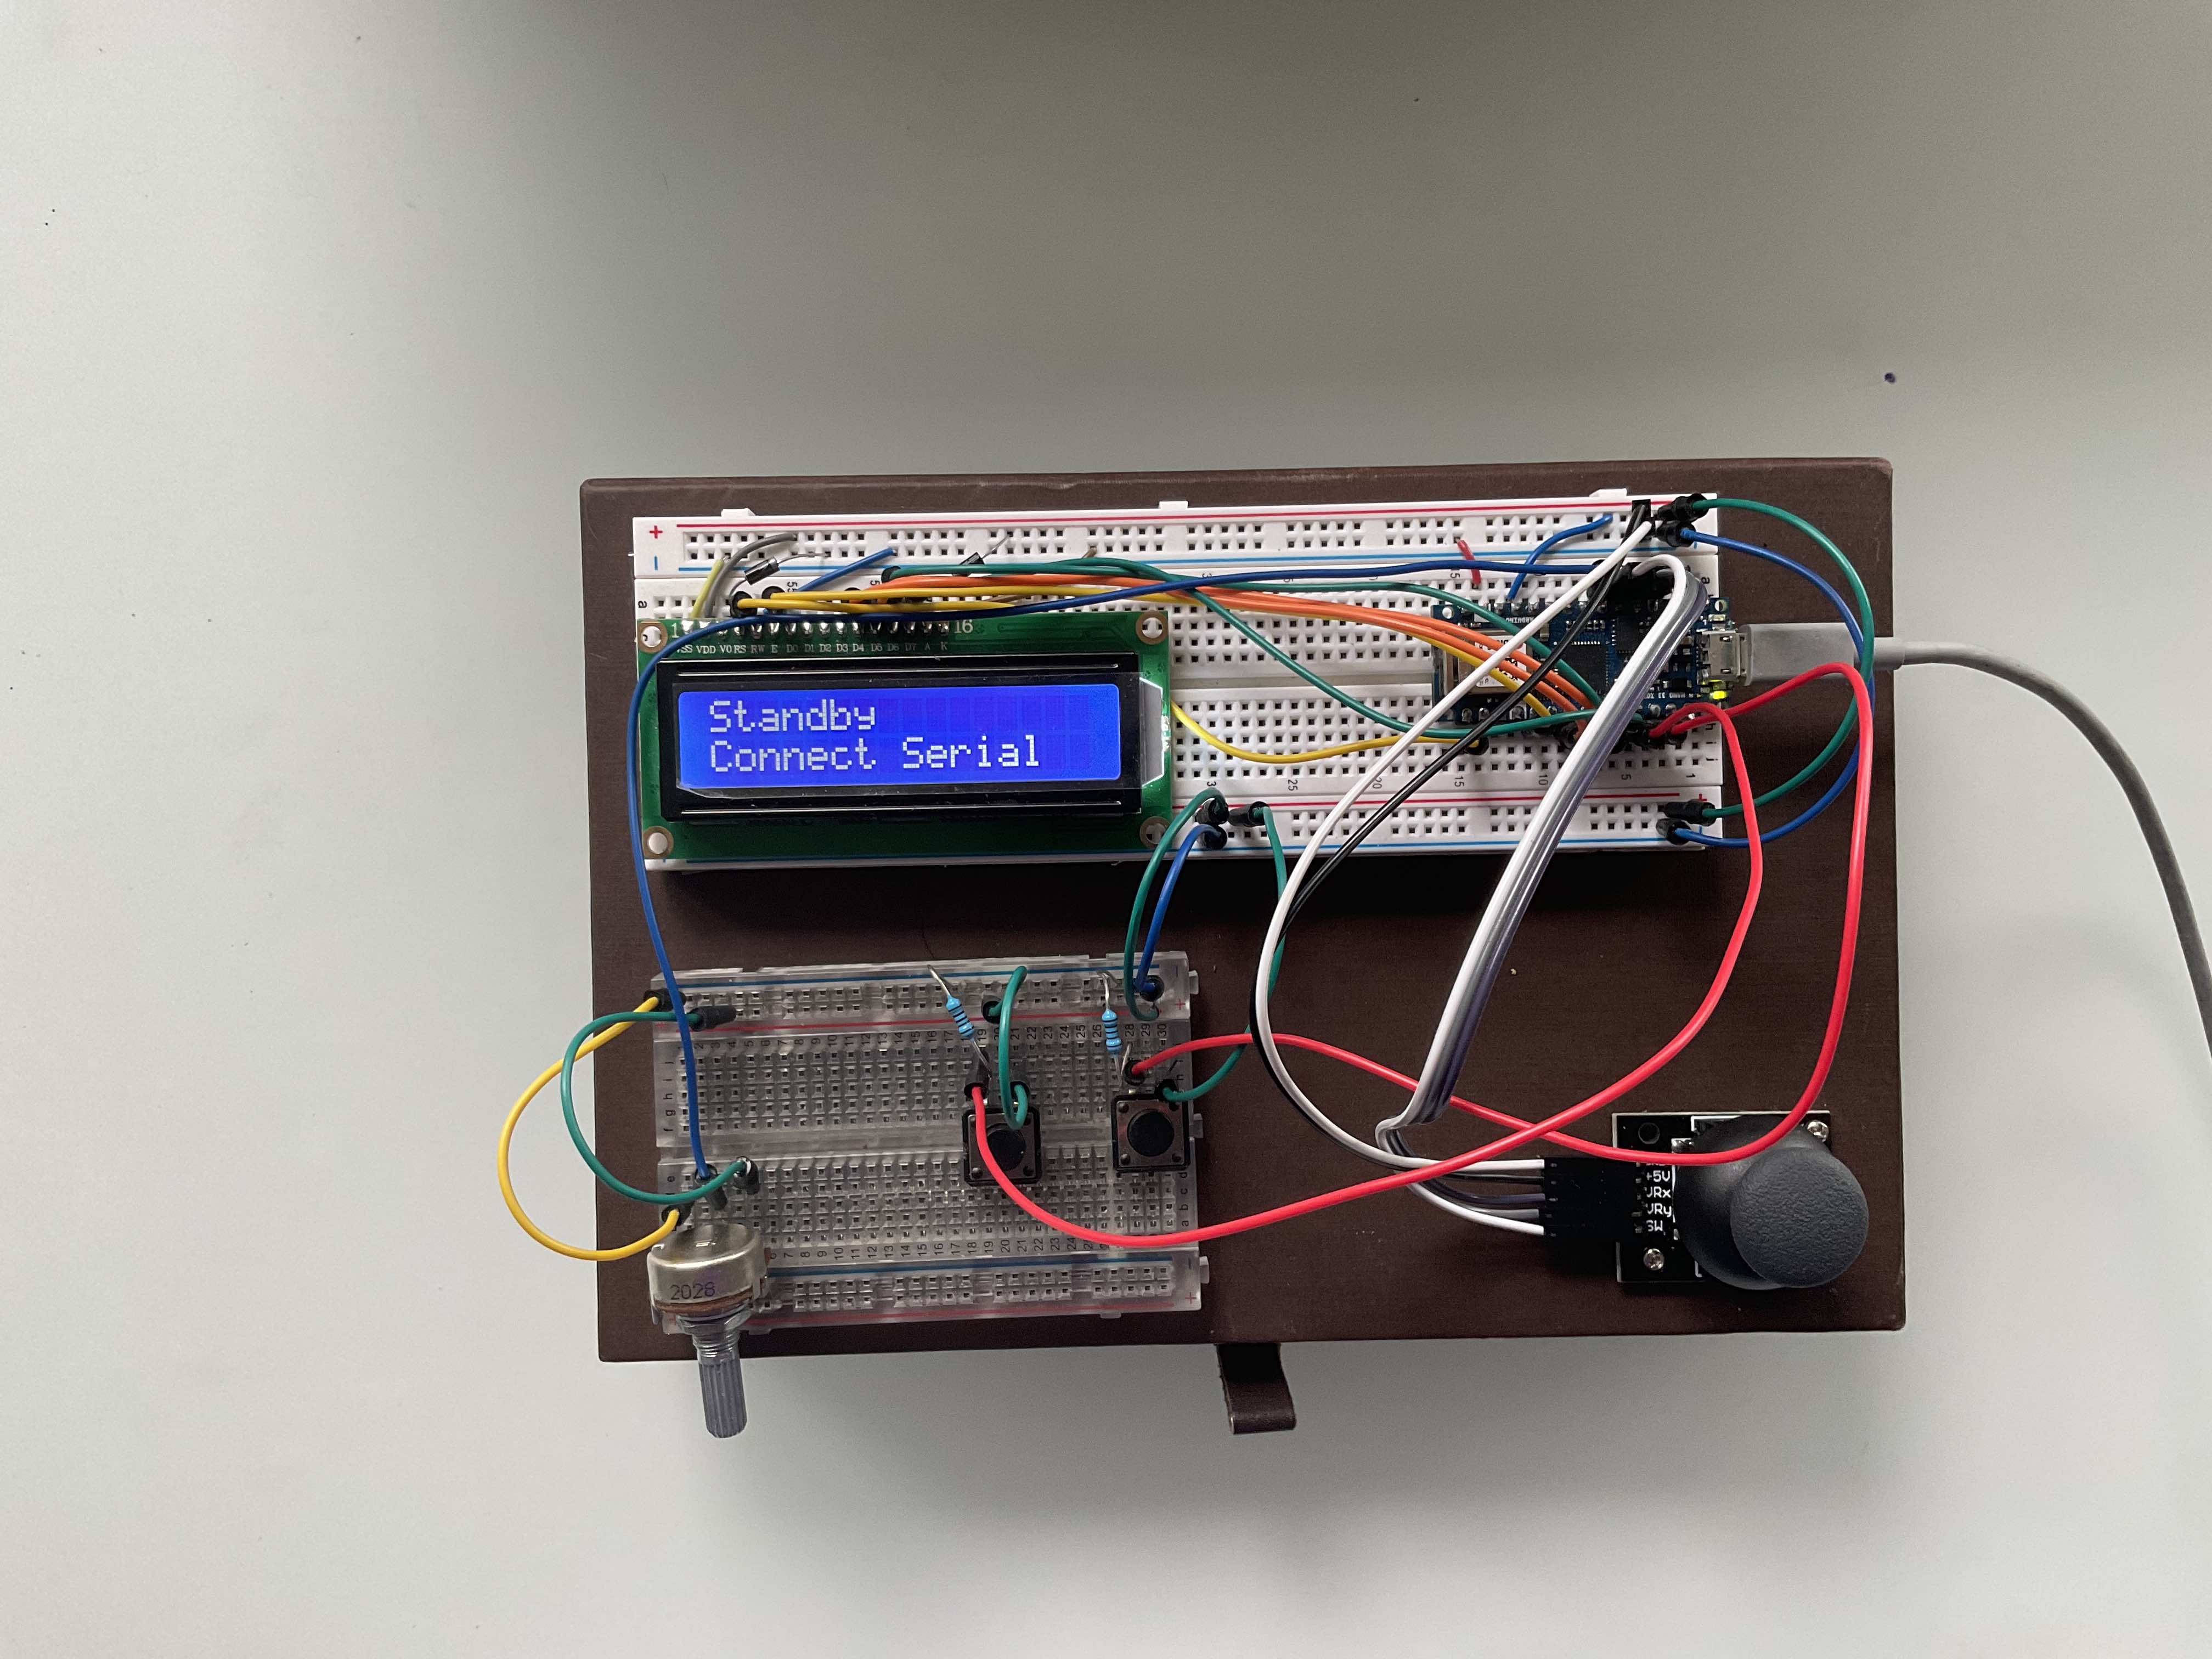
I built 3 different prototypes over the last week based on my initial idea. After finding it hard to regulate a HX711 and force resistance sensor, I opted to use a joystick controller and potentiometer to create aninteractive painter.
Images of the final prototype’s breadboard and sensors is stuck unto a box that can be easily held and controlled like a game controller with two hands. Below are photos and diagrams of the build.
Protoype experience
Prototyping this was pretty fun! I wanted to keep exploring and integrating sensors and scale the design with switchable patterns, but for now I’m just happy to have a working prototype and MVP! I’ve placed some considerations on User experience and using the Arduino display as a secondary tool to follow and draw along by making alerts, prompts and sensor data available here to reduce distractions on screen.
When assembling my data input for serial communication, I felt that the instructions from our serial input lab was too simple for the multiple sensors I was accessing. I researched how to set up and parse my sensors as an array and attach them to individual variables for better control and ease of reading the code. I’m curious what other ways can be employed to optimize my code?
I used the Lcd display to alert if serial is connected or not, which is easier to view than the serial monitor.
  //set up standby message to notify that serial controller is not on
  while(!Serial){
  lcd.clear();
  lcd.setCursor (0, 0);
  lcd.print ("Standby");
  lcd.setCursor (0, 1);
  lcd.print ("Connect Serial");
  delay(300);
  }
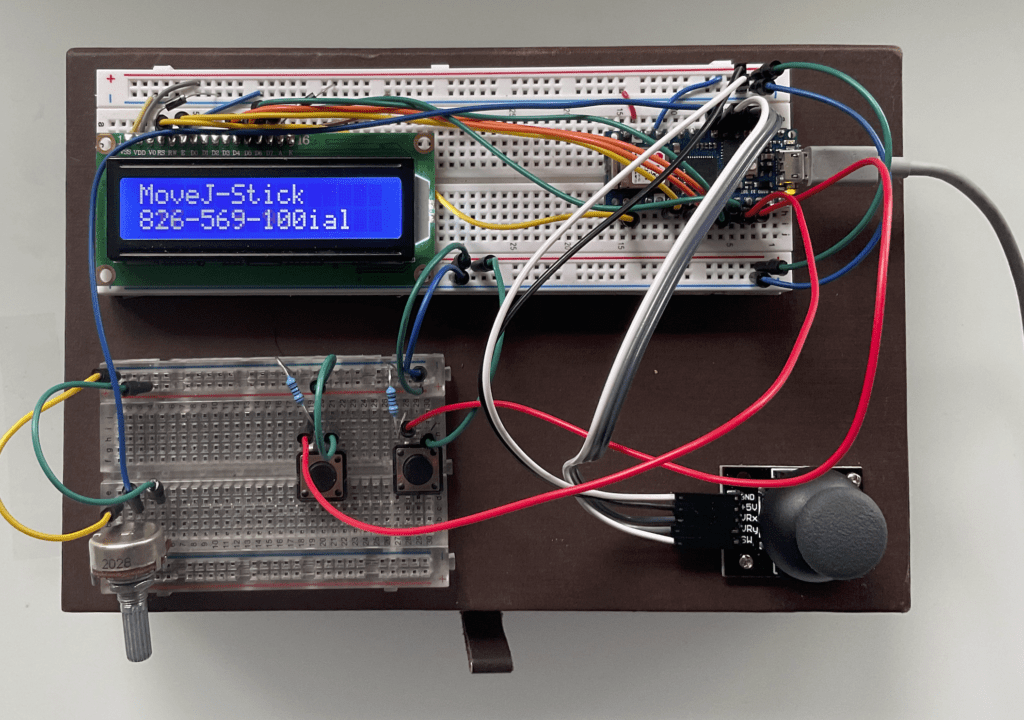
Once the serial is open, the display changes to alert you of the cursor position.
    //generate LCD response for movement
    lcd.setCursor (0, 0);
    lcd.print ("MoveJ-Stick");
    lcd.setCursor (0, 1);
    lcd.print (xValue);lcd.print ("-");lcd.print (yValue);lcd.print ("-");lcd.print (mappedPot)lcd.print ("    ");;
    delay(300);
With the the device and P5js talking, I’m able to move my cursor across the canvas, increase
and simultaneously adjust the opacity of my brush to create circular patterns with rich colors. Below are a few screengrabs from my tests.
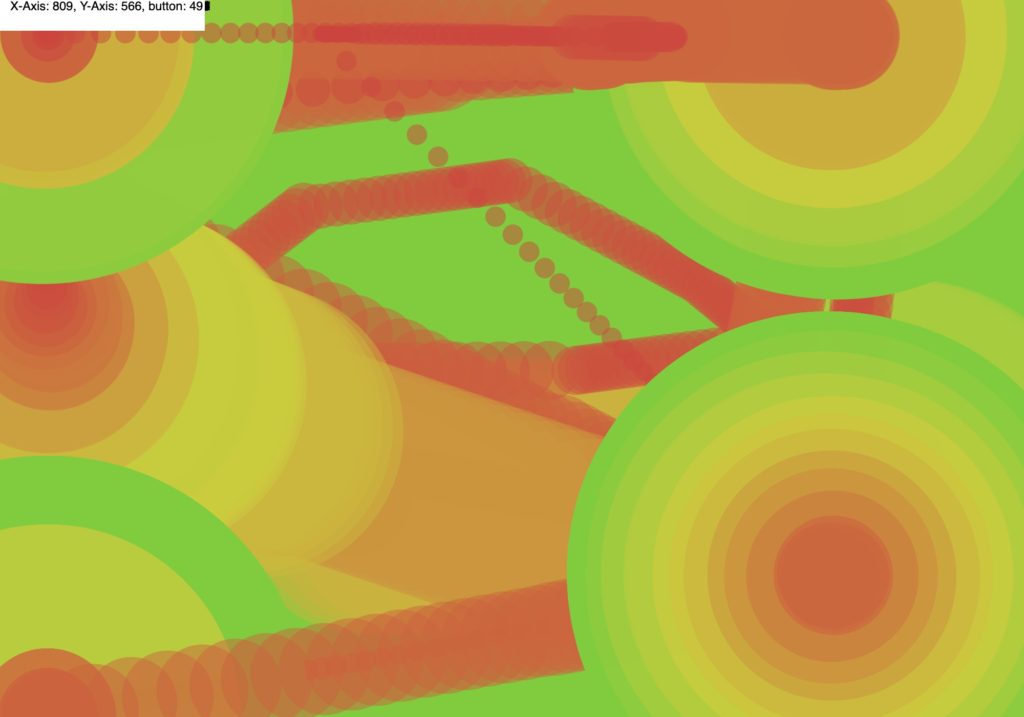



Overall, it is simple and does what it needs to do. However, the quality of the user experience needs tweaking a bit more. I think with the remaining time, I can shift my focus on the coding aspect to tweak the visual experience and and stablize the joystick. A few other things I noticed along the way.
- LCD screen power rquires regulating since pressing buttons or other inputs made the text and LCD backlight jumpy. I added a diode rectifer to the backlight and text and surprisingly its perfect. My logic was that may limiting the flowback of AC power to the screens would help stablize the display, is this the correct way?
When using the LCD to generate brush data(joystick), the text doesn’t clear, only overwrite. Using “lcd.clear();” makes it blink. Something to try in my code.Update: I used some extra spaces at the end of the data to overwrite previous print data.- Despite mapping my joystick on the arduino, i can’t seem to generate x and y in the center. Maybe this is due to the joystick needing additional calibration? By default, if I map the X Ax between 0 and 1023 for a canvas line 1000px long, the x starts at 817.
- I would also like to add a more sensitive scrolling experience for the joystick. Maybe a lerp function would smooth movement? Update: I used an easing script that I wrote in Week two to stablize the brush, it feels really natural!
- How do I set my buttons to run two functions, like “resetSketch();” or “saveSketch();” and run it only once? While as a button saving the sketch generatings a single instance, if I hold down the button on my prototype it will take multiple pictures, like up to 14 for a long press. I believe this is due to the way I’ve set the code up.
On the arduino, I set a response of “100” when the button is pressed, this prints along with the other data to the serial. But i think if I hold it down more than the refresh time, it will send this data x amount of instances creating multiple save or reset requests. Not sure, but I need to inspect this more to understand how to stabilize this button.

